Independent training, updated for Resolve 21
Cut. Grade. Deliver.
DaVinci Resolve Tutorials, Fixes and Workflow Guides
Written for editors, tested hands-on in Resolve 21, covering both Free and Studio. Step-by-step menu paths, honest comparisons and fixes that hold up.

Drag the handle. The difference is what you learn here.
Actually free
The free version has no watermark and covers full editing, grading and audio work.
Studio: 295 dollars once
A one-time license for two machines, or 30 dollars a month rented through Blackmagic Cloud.
Resolve 21 is stable
Out of beta since June 3, 2026. Every guide here is retested on the shipping build.
Mac: Apple Silicon baseline
Treat an M-series Mac on a current macOS as the safe baseline for Resolve 21 and check the official download page. Intel Macs stay on Resolve 20.
Start with your task
Learn DaVinci Resolve
The beginner path, from install to your first finished edit.
 Start here
DaVinci Resolve Tutorial for Beginners
Work the six Delta Keyer tabs in order: sample the screen in Key, even it out with Pre-Matte or a clean plate, refine the alpha in Matte, garbage-matte in Mask, kill spill in Fringe, then Tuning last. Jumping ahead before the matte is solid makes every later tab harder.
DaVinci Resolve Fusion Tutorial for Beginners10 min readBuild three real Fusion comps node by node: a tracked title that sticks to a surface, a basic green screen key, and an animated lower third from scratch. Along the way: why nodes beat layers, why nothing shows up in your viewer, and when the Edit page is honestly the better tool.
How to Use LUTs in DaVinci Resolve12 min readCopy .cube files into Resolve's LUT folder, click Update Lists, then apply the LUT to its own node on the Color page instead of to the clip directly. Node placement, DaVinci Wide Gamut compatibility, Key Output Gain and Generate LUT decide whether the look holds up across a full timeline.
How to Color Grade in DaVinci Resolve: Beginner Tutorial11 min readNormalize log or RAW footage first, correct exposure and white balance, then build the look in labeled serial nodes while reading the waveform and vectorscope. Free Resolve covers the whole beginner grading workflow; Studio only adds HDR grading, advanced noise reduction and AI tools.
Fix a Resolve Problem
When the edit stops, start with the diagnosis, not the reinstall.
 Most read fix
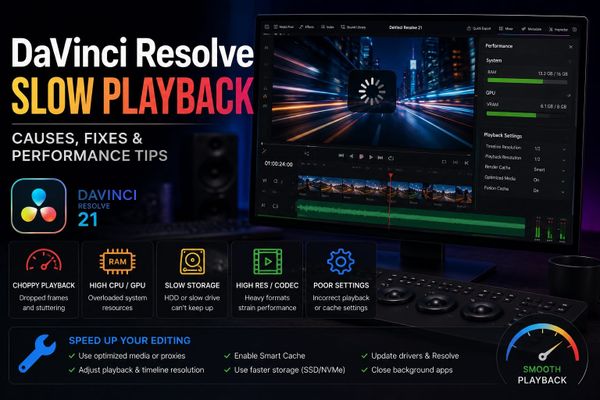
DaVinci Resolve Slow Playback
Match the symptom first. Waveforms visible but meters dead: Clip Attributes, codec or clip volume. Meters moving but silent: DIM, master mute, bus routing or the output device in Preferences. Source Viewer fine but timeline silent: track mutes and routing. Each case has its own section below.
DaVinci Resolve Render Failed9 min readMatch the exact error message first: a clip Fusion cannot process, a hardware decode conflict, full GPU memory, an uninitialized GPU, a stalled job with no error, a full cache drive, or one broken clip. Each has its own fix; the diagnostic bypass and clip isolation find the culprit fast.
DaVinci Resolve 21 AI Tools: Free vs Studio Breakdown14 min readResolve 21 splits its AI tools hard: IntelliSearch, CineFocus, the Face tools and the Speech Generator sit in Studio, while the free tier keeps the basics. What each tool actually does, what it needs from your hardware, and whether Studio is worth it for AI alone.
Media Offline in DaVinci Resolve: How to Fix It8 min readMedia Offline usually means a changed file path, an unplugged drive, an unsupported codec in the free version or variable frame rate footage. Relinking fixes the path cases; the rest need conversion or replacement. How to tell which one you have, and how to prevent it.
Master the Workflow
Audio, titles, color and a clean export: every edit runs through these.
 New in Resolve 21
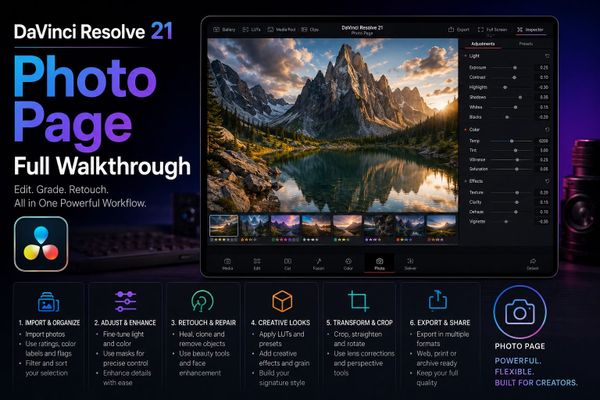
DaVinci Resolve 21 Photo Page: Full Walkthrough
Match the noise to the tool: Noise Reduction FX with a learned noise print for steady hiss and hum, Studio's Voice Isolation for wind, traffic and changing backgrounds, a gate for noise between words, and EQ or the De-Hummer for hiss and mains hum. The wrong tool is why cleanup sounds robotic.
DaVinci Resolve YouTube Export Settings9 min readSkip the built-in YouTube preset and use Custom Export: MP4, H.264, resolution and frame rate matched to your timeline, a custom bitrate from YouTube's own encoding guide, High profile, and Network Optimization checked. Seven fields decide the whole export; the rest is picking the right numbers.
DaVinci Resolve Nodes Explained11 min readA node in DaVinci Resolve is one step in the image pipeline: each holds its own correction, and the order they connect changes the result. Serial nodes cover most grades; parallel and layer nodes split work into branches. Start serial, label every node, give each one job.
How to Transcribe Audio in DaVinci Resolve 2110 min readResolve 21 transcribes two ways: per-clip from the Media Pool or whole-timeline for subtitles. You can edit the transcript, export SRT and work in more languages than Resolve 20 supported. Plus the usual reasons transcription keeps failing and their fixes.
Compare and Choose
Picking an editor, a license or an upgrade? The honest breakdowns.
 The big question
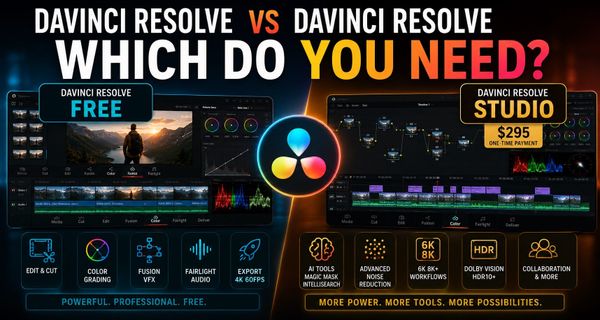
DaVinci Resolve vs DaVinci Resolve Studio: Which Do You Need?
Resolve 21 went stable on June 3, 2026: a new Photo page, AI tools split between free and Studio, and a macOS build that requires Apple Silicon. What changed page by page, what it means for Intel Macs, and whether to upgrade now or wait a point release.
How Much Does DaVinci Resolve Cost?11 min readDaVinci Resolve is genuinely free, with no watermark or time limit. Studio is $295 one-time or $30 a month as a rental, and some Blackmagic hardware bundles include a license. What each tier gets you and when the upgrade actually pays for itself.
DaVinci Resolve vs Premiere Pro (2026)10 min readResolve wins on price (free, or $295 once against a rolling subscription), color grading and audio post. Premiere still leads on ecosystem and some AI conveniences. The honest comparison across editing, color, AI, performance and who should pick which in 2026.
Tested, not paraphrased.
Every guide is run hands-on in DaVinci Resolve 21, in Free and Studio, on Windows and Apple Silicon. Written by editor Jason Miller. If a menu path changes, the guide gets retested. About the club
Practical Resolve training
DaVinci Resolve Club is built for editors who want a clear answer fast: where to click, which setting matters, and what to check before exporting. The guides cover the full Resolve workflow: importing media, organizing bins, editing on the Cut and Edit pages, creating proxy media, color correction and grading nodes, Fusion effects, Fairlight cleanup and Deliver page render settings.
Start with the beginner tutorial path if you are opening Resolve for the first time. Use the workflow guides when playback is slow, proxies are confusing or media goes offline. Use the color grading section for scopes, color management, LUTs, node order and matching shots.
Covered topics
- Beginner tutorial and first edit workflow
- Media page, import, bins, relinking and proxies
- Edit page timeline tools and shortcuts
- Color correction, grading, scopes, nodes and LUTs
- Fusion compositing, titles and tracking
- Fairlight cleanup, EQ and loudness checks
- Deliver page exports for YouTube, Shorts and clients
Questions editors ask
What is the best way to learn DaVinci Resolve as a beginner?
Start with the full edit path: install Resolve, import footage, make a simple timeline, adjust audio, add basic color correction and export. Then learn proxies, shortcuts, color nodes and Fairlight as separate skills.
Why is DaVinci Resolve playback slow?
Usually heavy codecs, high resolution footage, effects or timeline settings that outrun the machine. Proxy media, optimized cache and lower timeline resolution are the first things to check.
Which export settings should I use for YouTube, Shorts and Reels?
Use the Deliver page to match the platform: correct resolution, frame rate, codec, bitrate, audio format and color tagging. For vertical platforms, confirm timeline resolution before rendering.
Should I use DaVinci Resolve Free or Studio?
The free version covers most beginner editing, basic grading, audio work and standard exports. Studio matters for advanced noise reduction, some AI features and heavier professional workflows.
How do I start color grading?
Correction before the look: set exposure and contrast, fix white balance, use scopes, keep a clean node order, then add creative grading or LUTs.